How to maintain and clean your bike cleats
Toby Zeidler from Havebike explains everything you need to know about bike cleats, from how to choose the right ones for your needs to how to look after them and replace them
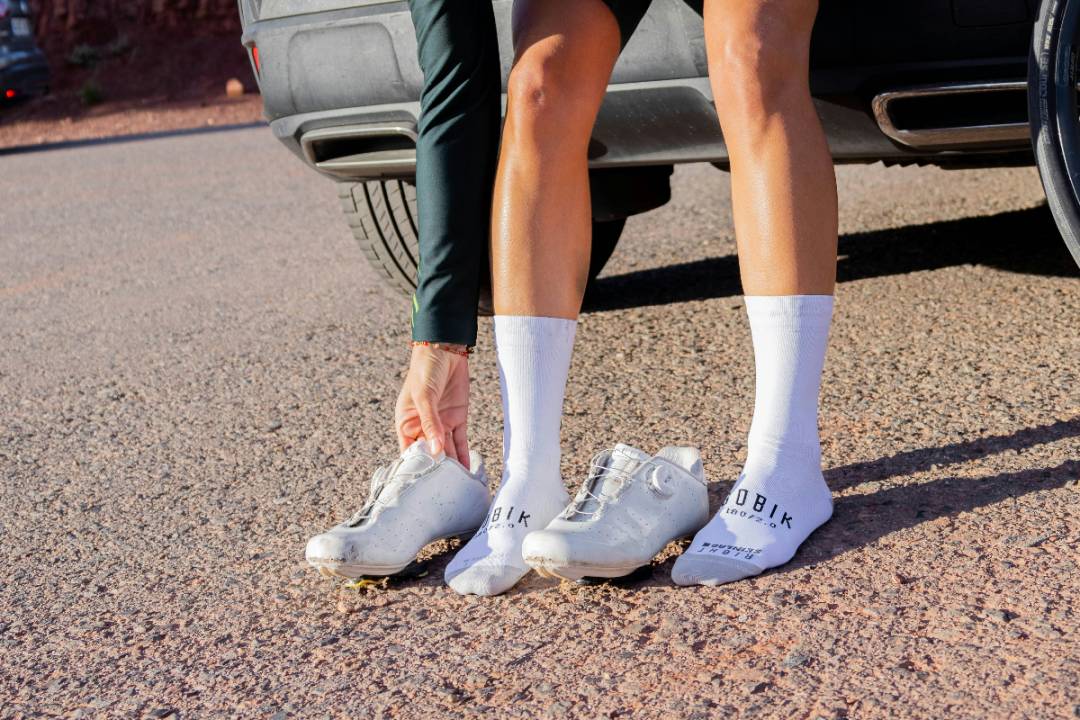
Using clipless pedals and bike cleats provide multiple benefits to triathletes but it is important to know how to maintain and clean bike cleats for safety and performance purposes.
One of the best upgrades a keen amateur cyclist can make is the move to clipless pedals. This slightly misleading name ‘clipless’ refers to the fact that cleats replaced the widely-used toe clips of the past.
Cleats are screwed into the sole of cycling shoes, either within an indent into the so a cyclist can walk without difficulty on the ground, or sticking out of the sole of the shoe. One of the advantages of using clipless pedals are that they allow the rider to secure their feet into the pedals without having to use their hands to tighten straps.
Cleats also allow for a greater power transfer during the full cycle of a pedal stroke as the foot remains attached to the pedal the whole time. By extension, efforts when stood up on the pedals are easier and more confidence-inspiring as the feet are much more secure and aren’t slipping about on the pedals.
What are the different types and uses of cleats?
Before you choose your style of cleat, you’ll need to select an appropriate shoe. Broadly, shoes and cleats are split in two; road (SPD) and MTB. The best triathlon bike shoes will almost always be road-based shoes because they are generally stiffer, lighter and cooler than MTB shoes.
Off-road riders and the vast majority of commuters will want to select a variant of a MTB shoe which allows for easier walking and better traction from the additional tread that prevents the rider from walking on the cleat.
There are far more variations of road cleat than MTB. Since an off-road rider primarily wants to avoid mud jamming the pedals and will be moving themselves and the bike around a great deal, MTB shoes and cleats are made to accommodate this.
The cleats are simple, sturdy metal plates that allow for considerable float (slight movement from side to side) when clipped in and are much easier to clip into and out of, even when covered in mud and dirt.
What is cleat ‘float’ and why is it important?

The ‘float’ refers to the amount the cleat will allow a rider’s foot to move from side-to-side. This is measured in degrees. The level of float needed will depend on rider mobility and is vital to injury prevention. A standard comfortable level of float is around 4-6 degrees, which is appropriate for most riders.
Road riders on the other hand will be focused on power transfer and comfort for long periods of repetitive motion. To achieve this, most the best clipless pedals for triathlon use a wider single-sided platform to clip into and cleat options for various levels of float depending on rider mobility.
Whilst some racers especially sprinters choose 0 degrees of float, this can cause knee pain or other injuries for riders without the experience and mobility necessary.
Look, Shimano and Time versus Speedplay

Whilst cleat manufacturers Look, Shimano and Time all use similar mechanisms with separate cleats for varying float, Speedplay is the notable exception as they produce the only double-sided road pedal that allows you to adjust the level of play, so it is much more versatile. These are popular amongst professionals as well as amateur riders who struggle with injuries or knee pain.
For most riders, it is wise to prioritise comfort over potential speed gains from lower levels of float. Most professionals use standard float cleats the same as amateurs. For riders with Speedplay, you can rest easy knowing you can adjust this at will!
Beyond selecting an appropriate level of float, clipless pedals will allow you to adjust the spring tension. This equates to the pressure required to engage and release the cleat into the pedal.
More experienced riders will increase this tension to ensure their feet don’t spring out during a high intensity effort.
To adjust spring tension, both road and MTB pedals will require an Allen key at the rear of the pedal. There will be a + and – sign to indicate the direction to turn to increase or decrease spring tension. There is currently no function on Speedplay pedals to adjust the spring tension.
How to maintain and clean your cleats
The most crucial point in maintaining your cleats is correctly fitting them to your bike shoes.
Whether you’re fitting cleats for the first time or replacing old ones, clean the sole of the shoe and inspect the threads for damage or debris. Prime your threads with grease so that the bolts fit smoothly and do not seize.
Fit the washers if supplied into the cleat before screwing the cleat onto the shoe. Tighten firmly but not too tight as you may want to make some adjustments to the position before securing them fully.
It’s vital for comfort and injury prevention to fit these in line with the guidance markers on the sole of the shoe and ideally have a professional bike fitter measure you for this. Once you know the position that is right for you, it’s a good idea to mark the cleat position on your shoe to make replacing them quick and easy.

When should you replace cleats?
Once you have fitted your cleats correctly, maintenance is minimal.
Make sure to clean your cleats and pedals of any mud or debris and keep an eye on the wear indicators. Most road cleats have a different coloured plastic on the contact points with the ground.
Once these get close to wearing away, it’s time to replace your cleats. Don’t wait for this plastic to wear away entirely as worn cleats can release unpredictably or worse still, you’ll risk snapping the cleat entirely.
Take a look at our favourite clipless pedals for efficient and stable triathlon pedalling next.
 Toby Zeidler
Experienced cyclist and bike industry specialist
Toby Zeidler
Experienced cyclist and bike industry specialist