How to fit new cleats onto your bike shoes
Install your cleats in the right place and protect your shoes by following our simple guide.
Knowing how to fit new cleats to your triathlon cycling shoes is an essential skill for triathletes because cleats need replacing regularly.
When using clipless pedals, failure to install cleats correctly can result in discomfort, injury and inefficient pedalling.
Cleat position isn’t hard to get right though. Below we run through the simple steps to ensuring you replace your new cleats in the correct place each time.
How to fit new cleats to cycling shoes

Before fitting new cleats to your road cycling shoes, use a fine pointed permanent marker to draw round the old ones so that your set-up remains the same.
If you don’t want to mark your soles, moulding playdough around the outside of the old cleat before removing them has a similar effect.
If you’ve had a bike fit for triathlon, the bike fitter should have placed your cleats in a specific position. Consider using a fitting aid like the Ergon Cleat Tool to replicate the orientation exactly.
Remove the cleats and give the soles and bolt holes a really good clean.
Look at the bolts of your new cleats, if they’ve got some blue thread lock on, carry on with installation. If not, get yourself a bottle of Loctite® 242 and apply. It’ll give a bit of added security and extra peace of mind.
Install the cleats, you don’t need to go mad tightening them or you risk stripping the threads. You’ll probably need a 4mm hex bit. If you’re using a torque wrench, 5-6Nm is about all you need.
How to fit cycling cleats for the first time

If you haven’t had a bike fit or found a comfortable cleat position yourself, here’s how to go about it.
1. Find your metatarsals
First put on your cycling shoes and socks. Then find the big bone on the outside of the your big toe: you want the centre of the cleat and the pedal axle to be inline or slightly behind this.
2. Mark the point on the shoe
Mark this point on the shoe with tape, a sticker or pen that will eventually come off. Line this up with the centre of the cleat, often indicated by a dimple as on Shimano or Look cleats.
3. Start central
Now you’ve sorted the fore / aft position, you can address the horizontal alignment of the cleats which determines the Q-factor or how far apart your feet are while pedalling.
Generally it’s best to start with the cleat in the middle of the shoe. If you then want your feet closer together, move the cleat closer to the outside of the shoe. For a wider stance, shift the cleats towards the inside of the shoe.
4. Point the right way
The last step is cleat angle. This influences whether your feet point inwards, outwards or straight ahead. To work out the best angle for you, sit on an edge with your legs and feet dangling freely. You should try to cater for your natural foot angle while pedalling.
Many people’s feet point straight on, so a straight cleat angle should work for them. If your feet point outwards, you should actually angle your cleats inwards when the shoes are upside down. And vice versa, if your feet naturally point inwards, your cleats should point outwards when the shoe’s overturned.
5.Test ride
All this can take a while to get right, so head out for a couple of test rides or try pedalling on your turbo trainer to see how the position feels. Take a multitool with you to make small adjustments if necessary.
How to look after cycling cleats
Once installed, check your cleat bolts regularly and minimise unnecessary stress and wear. Keep them clear of gunk and mud.
Don’t walk about in them excessively and, if you think you may be forced to, consider popping some cleat covers in your jersey pockets.
When to replace cycling cleats

Cycling cleats from popular brands such as Shimano, Look and Time have wear indicators that signal when it’s time to replace them. They can last as little as three months, depending on how much you cycle.
Wahoo Speedplay cleats last longer: replace these every 5,000 to 8,000km.
Sometimes the performance of the cleats will deteriorate before a wear indicator shows you should.
When the connection between the cleats and pedals feels loose, and / or clipping back in and out becomes more difficult, you should swap in a fresh pair.
Which cycling cleats to use
Your choice of three-bolt, road cycling cleats is determined by the kind of pedals you use. Shimano SPD-SL cleats only work with Shimano pedals, for example.
While you’ll find cheap aftermarket versions of each cleat style, we always recommend buying more for the genuine model. They last longer for one and the experience of using the real thing is usually better.
Below we’ll run through the design and spec of the four main kinds of cleats.
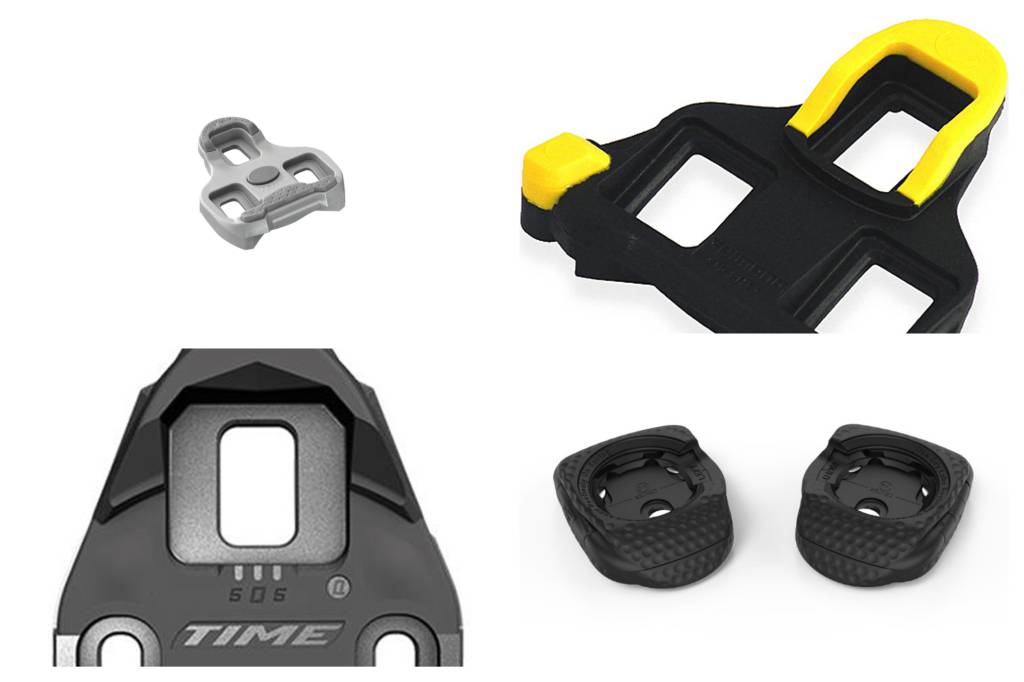
Shimano SH11 SPD-SL
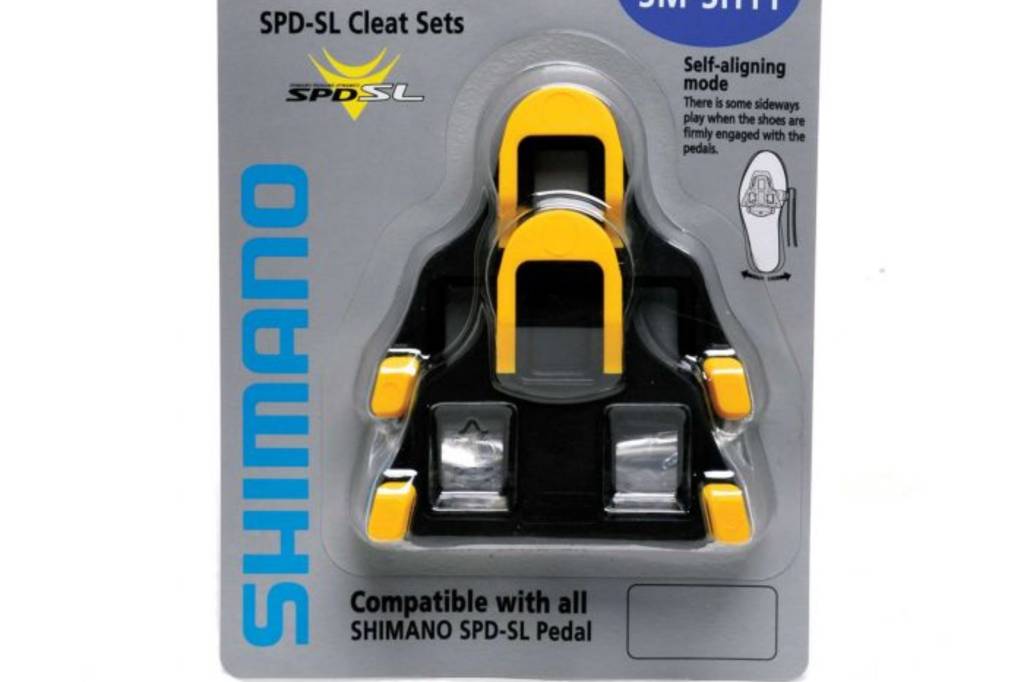
Since they’re compatible with Shimano SPD-SL pedals, the most popular kind of road cycling pedal, the SH11 is also a ubiquitous cleat.
This yellow version, with six degrees of float, is also the most common.
Look Keo
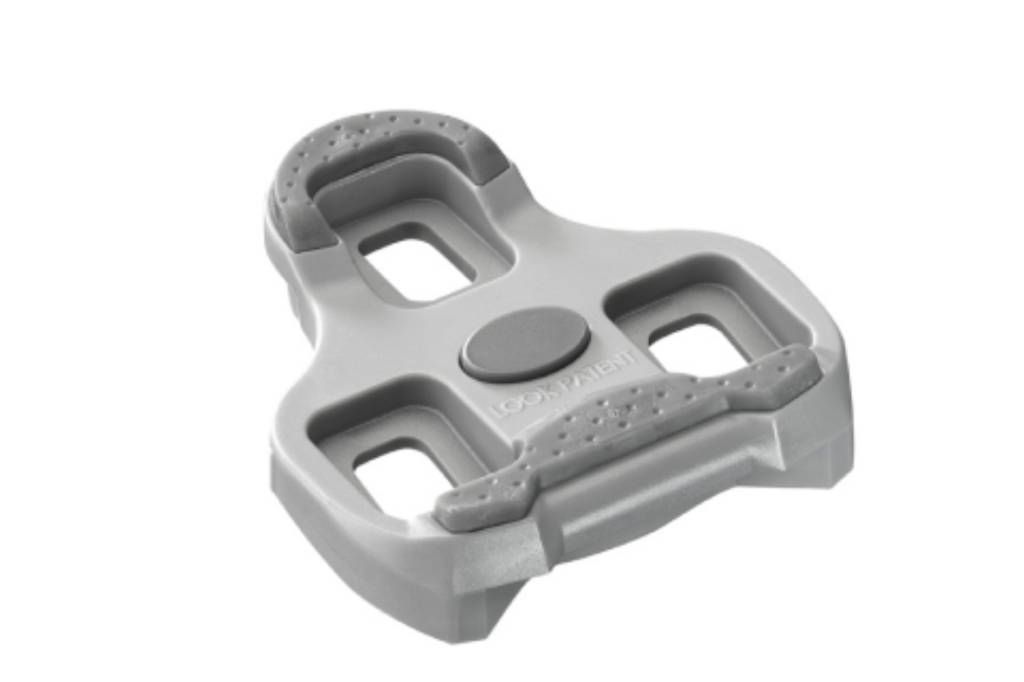
French brand Look also makes a cleat specifically for its assortment of clipless road pedals.
Like Shimano, the Keo comes in three ranges of float designated by colour. The grey variant pictured offers 4.5 degrees, the red gives nine degrees and the black is fixed at zero degrees.
Time Iclic Float
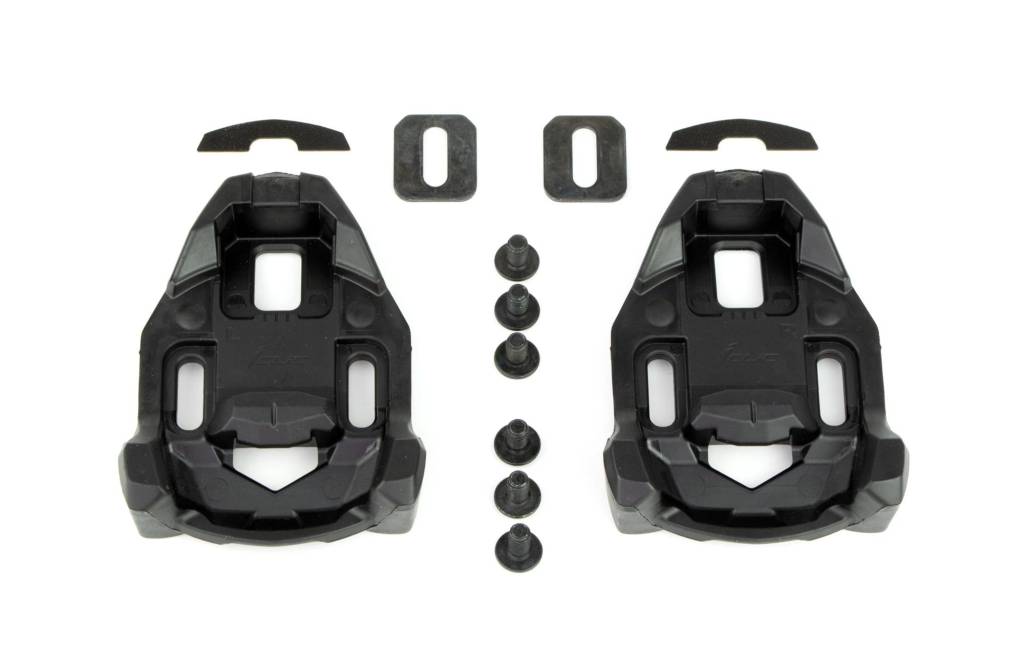
The Time Iclic cleats work with Time’s Xpro and Xpresso road pedals.
The Float version gives five degrees of angular float and 1.25mm of lateral float. A fixed option is also available.
Wahoo Speedplay
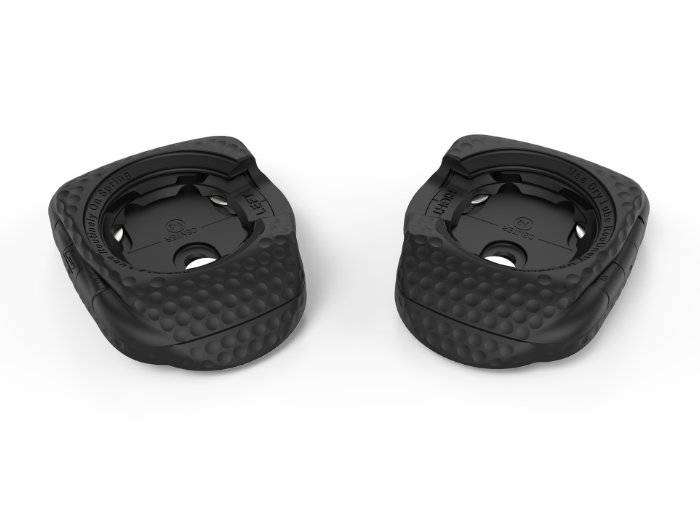
Wahoo’s cleats for its Speedplay pedal range are costlier and more complex than the three other main kinds.
For the extra expenditure, you get more adjustability and durability.
The black standard tension release cleat is pictured here. The easy-release option is grey.
To cover your feet for the run, read our recommendations of the best triathlon running shoes.
 Nik Cook
Freelance bike writer
Nik Cook
Freelance bike writer