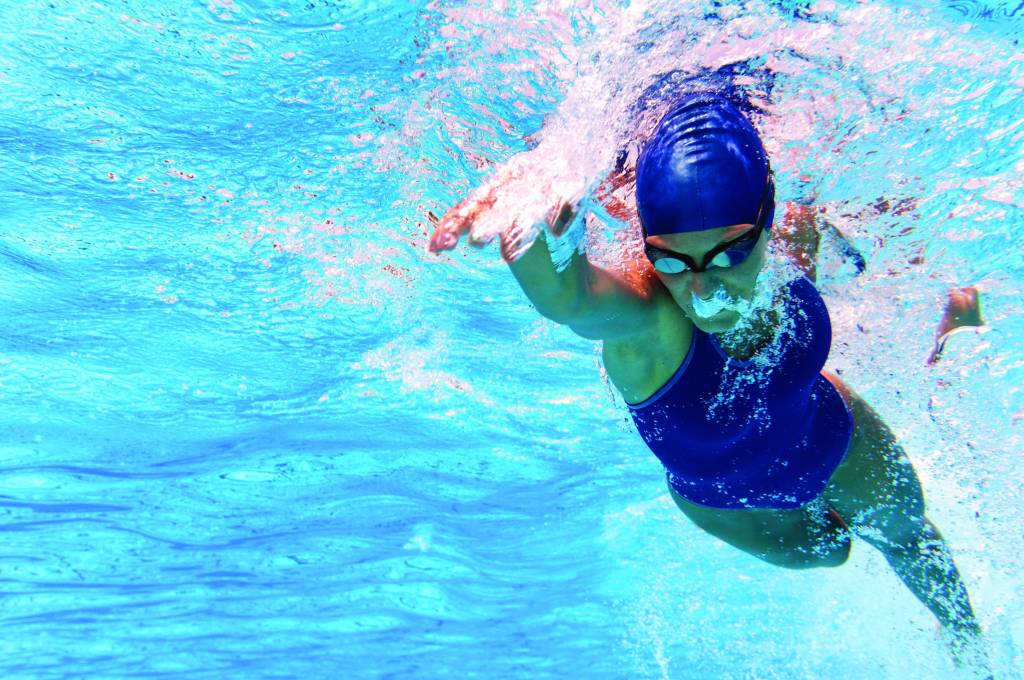
Want to swim faster, not harder? Fix your catch and pull first, say the experts
For some swimmers, the ‘catch and pull’ can seem like a dark art – but they are a fundamental part of the front crawl stroke if you want to move quickly through the water. We unpack some easy ways to improve...
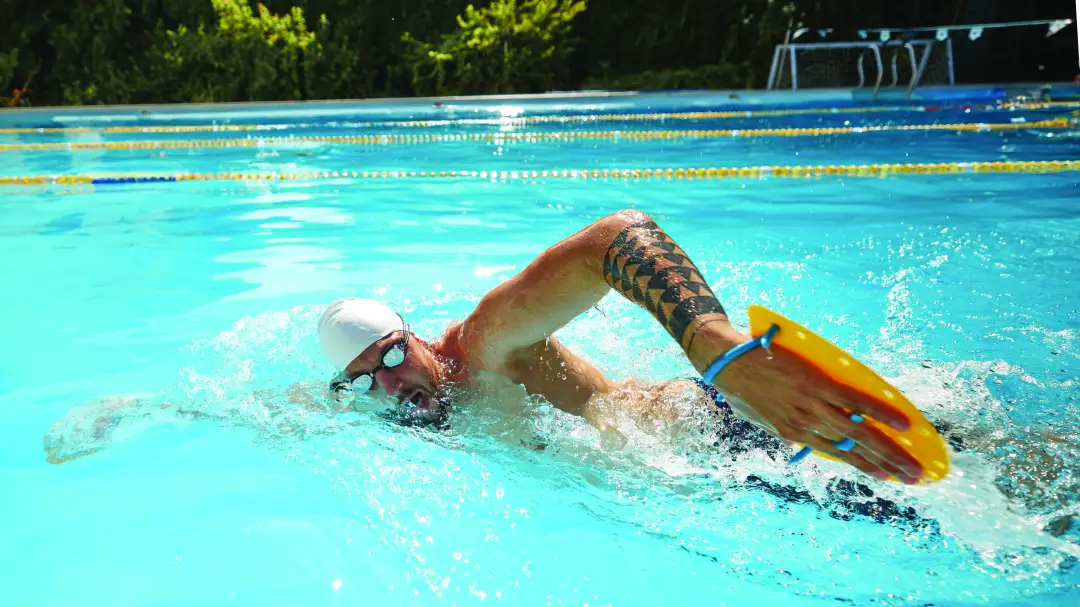
Swimming effective front crawl means mastering several key skills. The ‘catch and pull’ are fundamental to front crawl and it’s here we start to make a big difference to speed through the water. For many front crawl swimmers, this can be where they struggle, though, with arms slipping through the water instead of catching it and pulling the body past the arm. Over to coach Andrew Sheaff to tell us more…
1. Engage the correct muscles
An effective pull is often described as one that uses the muscles of the back, the latissimus muscles, to do the heavy work. This is in contrast to many pulling strategies that primarily use the shoulders and arms. This is great advice as the lats are stronger, more powerful, and more resistant to fatigue.
The challenge is that many triathletes don’t really understand how to do just that, and simply thinking about it while swimming doesn’t have much of an effect. To rectify the situation, incorporate simple land exercises that can be performed by anyone can be tremendously effective. Here are three of my favorites:
Cord holds exercise
If you can’t feel your lats, this is a great place to start. In this exercise you face forwards and pull the cords from in front of you to your side, engaging the muscles of the back with each pull. While this isn’t exactly how you want to pull in the water, it’s great for getting the lats working, as no other muscles can get the job done in this position.
If you’re really struggling to feel your lats, perform one arm at a time, and place the non-working arm on the lats of your working arm to confirm that they’re working, or to encourage them to get in on the action if they’re not. It’s helpful to perform a few repetitions then hop in and swim a bit, then go back and forth between using the cord and swimming. You’ll start to get a feel for the muscles of your back contributing to the pull.
Ball squeeze exercise
When you’re actually taking your pull, it’s almost like trying to pop a balloon in your armpit. You pull back and the armpit closes to move you forward. That’s the sensation we’re trying to help you feel with this exercise. Any sort of ball or football-shaped object will get the job done. You’re going to pop the ball under your forearm and pull the arm down to squeeze the ball against your side.
If you’re in a pool, you can even throw your arm over the lane line and squeeze that! It can be done at any time, and can be a helpful reminder in between repetitions. This exercise builds upon the previous one by helping you feel the lats work, but it does so in a manner that’s more specific to swimming.
Wall pull exercise
This is an exercise that should be done any time you get in the water. It’s terrific at helping you learn to pull straight back, one of the key elements of an effective pull. It also helps you feel the muscles of your back and chest initiating the pull. After you’ve done some work with the previously two exercises, it should be much easier to feel these muscles working and even better, it forces you into the ‘high elbow’/‘early vertical forearm’ position.
To perform the exercise, kneel in the shallow end and put your forearms on the side. Then, using the back and chest muscles pull yourself out of the pool, varying the width of your arms to play around with the exercise and see where you best engage the muscles and achieve the most movement. If you find this challenging, then to start with you can use your legs as support or to boost you a little.
The best part about this exercise is that you can do it right before you swim, each and every time you push off the wall. Whenever you need a reminder about how to pull back, you can instantly create that reminder for yourself. Secondly, it’s nearly impossible to do it wrong! Just throw your arms on the deck and create some pressure. You can even do it during everyday life as any table and countertop will do!
2. Improve your hand speed
Many triathletes are missing out on a key aspect of the arm pull. You can achieve perfect positions and have textbook technique yet still struggle. As the saying goes, it’s not what you do, it’s how you do it. A pull performed with technical precision is only going to take you so far if you don’t learn to execute that pull in the right way. So what are many triathletes missing out on? Simple – hand speed! Throughout the pull, there should be a gradual, yet significant increase in hand speed from start to finish.
Now, it’s not quite as simple as just let it rip however. You can’t just pull as hard and as fast as possible from the start. There’s some nuance, but once you figure it out, there’s often a noticeable improvement in speed. Just focusing on building hand speed next time you’re in the water might be all you need to do to improve. However, that’s likely not going to be the case as it can be a tough skill to figure out. Instead, you need a couple drills that put you in the right positions, and then a strategy to determine what works.
Power Pulls drill
Now it’s time to put that pressure to work – a good drill for this is Power Pulls, which lets us practice accelerating the hands and building pressure. Using a pull buoy between your thighs, start in a similar position to a sculling drill with both arms out in front. With hands deep and inside the elbow, you’re going to pull both hands backwards – accelerating towards the rear and creating propulsion – before pulling them back through the middle to go again.
While getting a feeling for what’s happening is important in improving our front crawl, that’s not enough. You want to know what works. The best way to do so is to keep track of your stroke counts and times for this drill (e.g., how many double-arm pulls it takes to get down a 25m length). If these numbers are improving, you’re doing a better job of accelerating the hands. Pay attention to what works, then repeat it!
As you start to get the hang of how accelerating your hands can improve your speed in the drills, start doing the same while you swim. Use the same strategies to help figure out exactly how to do it- count your strokes and keep track of your times. When they numbers improve, keep doing what you’re doing and see if you can consistently get the results you want. Sooner than later, you’ll start to lock in on exactly how much pressure you need to apply and how to build hand speed. Once you do, you’ll have a skill that makes a big difference in terms of how fast you swim.
3. Establish an early vertical forearm
You’ve likely heard about the concept of an early vertical forearm to improve your pull. If you haven’t, or you need a refresher, think about it this way. Your arm is your paddle, and if you want to move forward, that paddle needs to be moving backward. How effective that paddle is will be determined by how big it is. If you just use your hand, it’s only going to be so big. However, if you can use your entire forearm as part of your paddle, it’s going to be a lot bigger! That’s the idea behind an early vertical forearm.
To move water backwards with the forearm, the forearm needs to be vertical in the water. That way it faces backward, allowing you to move water backward. The ‘early’ part is important because the sooner you can get the forearm in that position, the more water you can move backward.
It’s a pretty simple idea, even if it’s difficult to make it happen. The challenge with actually executing an early vertical forearm is that it’s a counterintuitive motion. It’s unlike anything you do in everyday life or in any other sport. It also doesn’t feel like you’d expect it to. For all of these reasons, simply thinking about the skill doesn’t always result in much, if any, change. To make a change, you need to be forced to move differently. The following two exercises force you to use your forearm.
Upside-down paddles
Next time you use a pair of paddles, rather than wearing them as designed, hold them upside down with your fingers gripping over the straight edge. It doesn’t matter what type of paddles you use, the impact is the same. Here’s how it works. By holding the paddle upside down, you’re locking the wrist in place. That means that where the hand goes the forearm is going to follow. Because the hand is going to be directed backward, you’ll have to learn to manipulate the forearm so that it’s in the same position. You’re forced to use the hand and forearm as one unit, exactly what happens with an early vertical forearm.
Closed fist swimming
Here’s a similar strategy that works in slightly different way. Swim with your hands closed. What’s happening here is that by closing the hand, you can’t use the hand to move you forward. If you want to move forward, something else has to pick up the slack. What’s that something? Your forearm! Because your primary pulling option isn’t available, you’ll have to learn how to use your forearm to move water backward. When you open your hand back up, you’ll feel the hand and the forearm working together.
While both upside-down paddles and closed fist exercises are effective at promoting an early vertical forearm, don’t feel like you have to choose one over the other. Use both! You can incorporate either of these exercises during regular swimming or during any drills that you find beneficial. Simply perform a few repetitions with the paddles or your fist closed, then swim with normal hands. You’ll find that you naturally begin to incorporate your forearm into your swimming.
4. One paddle at a time
Using one paddle at a time is something I like to get swimmers to do. By wearing one paddle at a time, you’ll get more out of your paddles than if you wear them both at the same time. Many triathletes struggle with improving their pull because they can’t tell the difference between effective pulls and ineffective pulls. By using one paddle at a time instead of two, you can develop the sensory awareness to improve your pull.
Questioning standard practice can often lead to some interesting results. Paddles are a common tool in the pool, yet they’re almost universally worn on both hands at the same time. Of course, there’s no reason it must be that way. In fact, by only wearing one paddle at a time, you’re going to get some great insight into how each arm is pulling, as well as some great sensory information about how you can improve both arms. Here’s how:
Swim with a single paddle
The simplest way to implement this idea is to swim with a single paddle. You can alternate which hand has the paddle on each repetition, or every several repetitions. You want to pay attention to the differences in sensation between the paddle hand and the hand without the paddle. One hand is going to seem like it’s holding a lot of water and one hand isn’t. Your job is to try make the weaker hand as strong as the better hand.
You’re going to have to change how you position your hand and arm and you’re going to have to change how you pull. You may not be able to completely eliminate the difference, but you should be able to improve. Any improvement is a big difference. Likewise, you can time your repetitions or count your strokes while swimming with a single paddle. The goal is to be able to swim the same times or stroke counts, regardless of which hand has the paddle. If one hand is better than the other, you have some work to do! Figure it out by comparing the differences between the hands and then work to minimize the differences.
Drill with a single paddle
Just as with swimming freestyle, you can apply the same concepts to pulling drills for greater effect. Because the drills are more isolated, the impact of each pull is going to be a lot more significant, for better or for worse. Pay attention to the differences in sensation from one arm to the other and pay attention to differences in performance when one hand has the paddle on versus the other. You’ll get some novel insights that would otherwise be unavailable. Go back to our ‘power pulls’ drill and do it with a paddle on one hand, swapping to gauge which arm is performing better. If you want to step it up even more, keep the non-paddle hand by your side instead of out front and only use the one arm!
 Andrew Sheaff
Swim coach
Andrew Sheaff
Swim coach