Discover 15 key front crawl swim drills to improve your technique
These front crawl drills are designed to improve the four key elements of good swim technique; body position, leg mechanics, arm mechanics and your breathing and timing.
Struggling to nail your front crawl swim and think you need to put some hours in to bring your technique up to speed? Learn how to improve your front crawl technique and make the most of your time in the water with these swim drills.
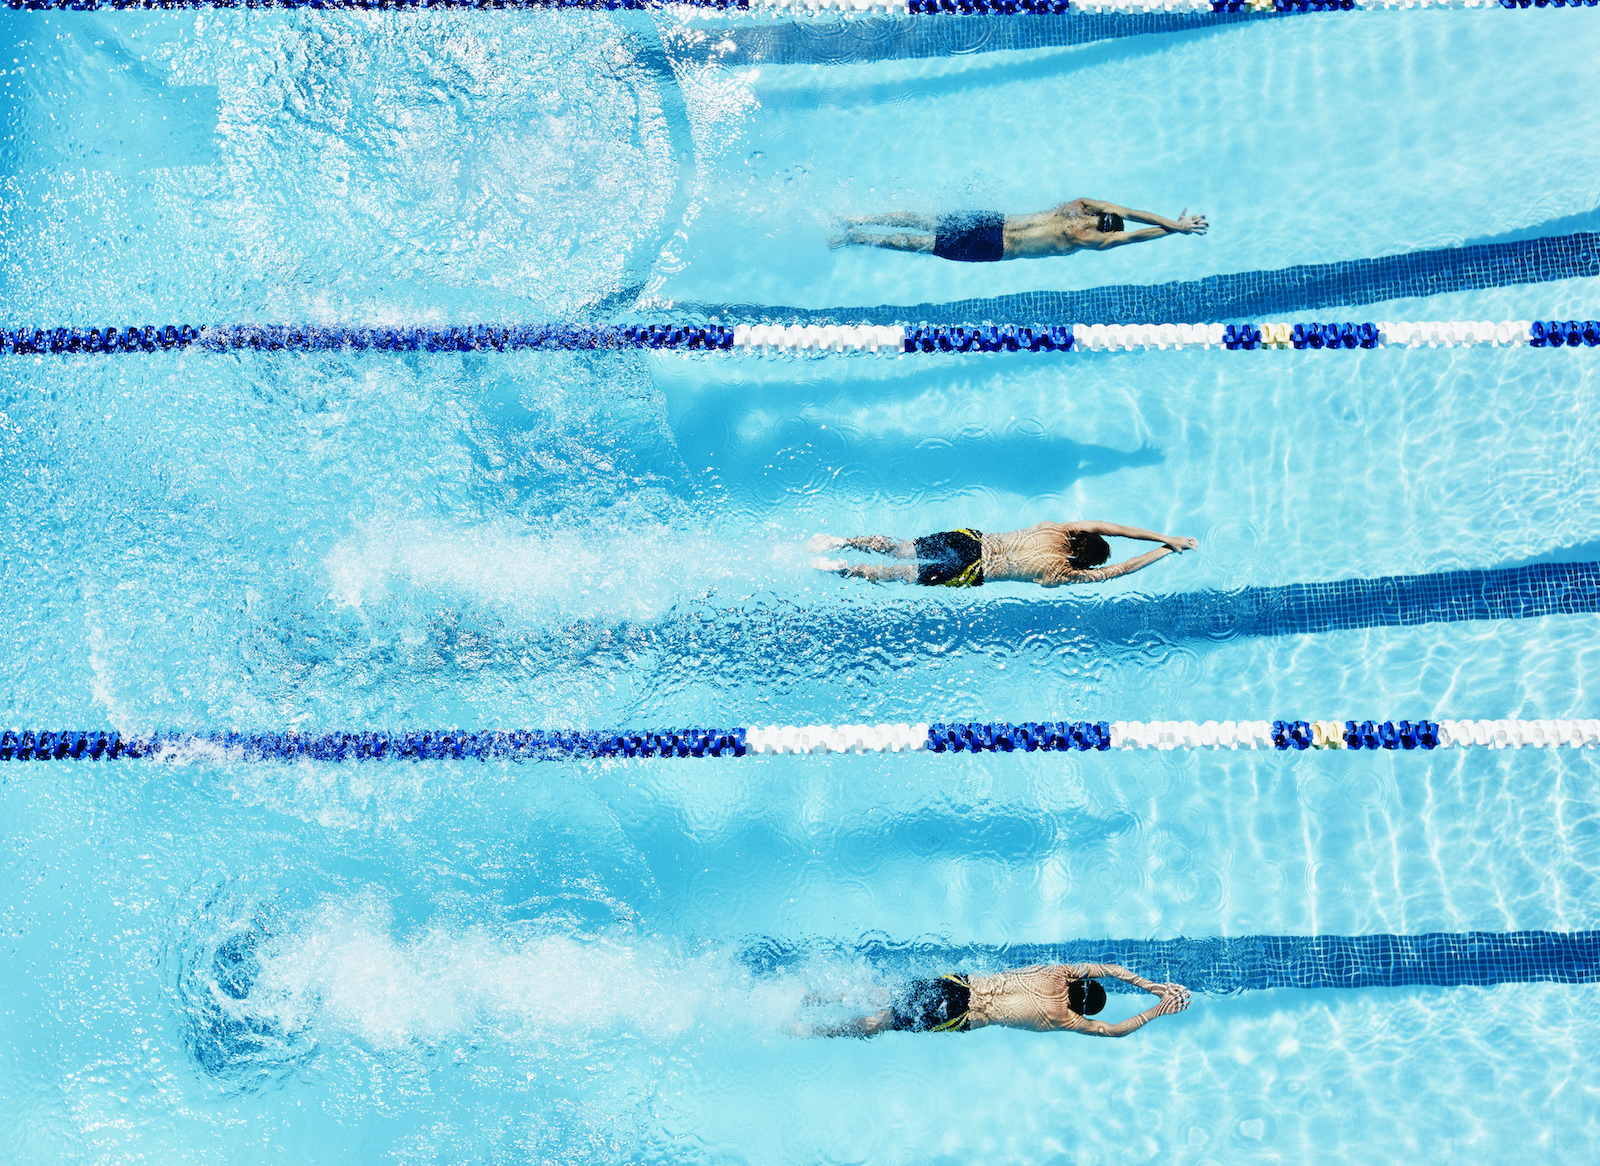
Front crawl, also known as freestyle, is the fastest and most efficient swim stroke to master as a triathlete or open-water swimmer. These key drills aim to help you master your front crawl technique, encouraging your body into a more streamlined position in the water, while also increasing your propulsion and speed. Let’s get into it…
How to improve your front crawl technique
Here are the only 15 front crawl drills you need to know to improve your technique, endurance, and overall swim performance.
Front crawl arm drills
The arm action can be broken down into five parts, each of which has its own specific requirements…
Hand entry
- Fingertips or thumb enter the water first.
- Hand enters between your head and shoulder.
- Hand extends (glides) forward after entry.
Down sweep
- Hand presses down and sweeps outwards.
- Hand sculls to catch water as arm approaches full extension.
- Hand sweeps down as elbow begins to flex (keep elbow high).
In sweep
- Hand continues to accelerate.
- Bend at your elbow increases.
Upsweep
- Hand accelerates as it passes under your shoulder.
- Hand pushes through to thigh.
Recovery
- Elbow is relaxed while lifted.
- Little finger exits the water first.
How important is technique when it comes to swimming?
1. Fist swimming

This drill promotes your feel for the water.
- Keep your fists clenched as you swim for a set distance (for example 12.5m). It should feel as if your hands are slipping through the water.
- Unclench your fist once you reach the distance and continue to swim front crawl. You should feel a difference in the water pressure around your hand.
- This feeling should give you a better idea about the movement your hand makes as it pulls through and catches hold of the water.
2. Paddle swimming

Swimming with paddles promotes a greater feel for the water when used with fist swimming, and it also helps you develop a more powerful pull phase.
- Using the hand or finger paddles effectively will increase the surface area of your hands. This creates resistance when you try to pull them back through the water.
- Continue swimming as soon as possible after taking the paddles off so your hands feel the different resistance against the water.
Caution: Using paddles puts increased stress on your shoulders and, if used excessively or without good technique, could lead to injury.
3. Doggy paddle

Not only does this drill lengthen your stroke, it also ingrains an ‘S’-shaped pull to your underwater arm action.
- Extend your arms out in front of you as you swim on your front with head up.
- Keep your left arm in front, as you pull your right arm back and down towards your hip. Try to feel the water and scull as you perform the underwater catch action of front crawl.
- Return your right arm to its starting position while keeping your arms and shoulder submerged under the water.
- Repeat the action with your left arm.
- Remember to roll your hips with each pull.
Front crawl leg drills
The kick provides propulsion but is easy to get wrong, which can have a big impact on your stroke. The key things to bear in mind are:
- Your kick assists your body position.
- It should be a whip-like extension with the movement starting from your hips and travelling to your feet.
- Your knee bend should be slight on the down kick.
- Your kick should end just below your bodyline.
- Your legs lift upwards with ankles and feet stretched.
4. Kick on front (with kickboard)
This improves your front crawl leg kick and helps you to begin the action from your hip.
- Hold a kickboard out in front of you with both hands.
- Kick from your hips, not from your knees.
- Keep your toes pointing backwards not downwards, with the soles of the feet facing upwards. Also, think about keeping your legs long.
- Bend your knees slightly as you kick downwards.
- Keep your legs straighter as you bring your feet back up towards the surface.
- Wear fins to increase your ankle mobility and to assist kicking technique.
5. Kick on front (without kickboard)

You’re, once again, working on your kick with this drill. However, this time start with your hands ahead of you and, once you’re comfortable with that, progress to swimming this drill with your hands by your sides.
- Carry out the drill in the same way as the previous drill but without
a kickboard. - Once you’re at ease, do it while keeping your arms by your side.
- Fins can be worn. So can a snorkel, which will let you breathe without rolling so you can concentrate solely on your kicking.
6. Streamline kicking

This drill also helps you improve your kick but gets you to work on your body position, too. It allows you to learn to remain in control when you lift your head out of the water to sight. (Fins can be worn.)
- Begin swimming but hold your arms out ahead of you.
- Perform the front-crawl kicking action.
- Lift your head slowly to breathe but keep your hips high in the water.
7. Vertical kicking

This is another drill that will teach you to initiate the kicking action from your hip. (Fins can be worn.)
- Tread water while floating vertically in the deep end of the pool.
- Either cross your arms across your chest or keep them down by your sides.
- Point your toes towards the floor and kick from your hips.
- Try to kick so your head and shoulders stay out of the water.
Front crawl body position drills
The key thing to remember about body position is to keep as flat as possible. The more horizontal you are, the easier it is to move through the water. Here’s how you can achieve this:
- Keep your hairline level with the water’s surface.
- Look forward and down to the catch phase.
- Keep your head steady throughout the stroke.
- Keep your hips just below the surface.
- Imagine an axle running down the length of your body around which you roll to breathe.
8. Kick on side
This drill improves your core strength and control. (Fins can be worn.)
- Lie on your left side in the water with your left arm extended.
- Place your right arm by your side (the top of it should remain dry).
- Flutter kick to move you through the water.
- Roll to breathe but keep your head in a neutral position when not breathing.
- Swap sides to work both sides of your body.
9. Stomach suck

This drill helps you get a feel for swimming with your hips high in the water.
- Swim front crawl but suck your stomach in during the stroke.
- Sucking your stomach in lifts your hips closer to the surface and allows you to see what it’s like to swim more horizontally.
- Experiment with your head in different positions – if your head is too high, your legs will sink.
This drill encourages good rotation.
- Place your arms by your side and kick gently while keeping your head in the neutral position.
- Gently rotate so your whole body faces to the side and your shoulders are almost vertical. (Keep your head facing down, your body straight and your arms by your side.)
- Then slowly rotate back but continue round to the other side.
- Breathe when on your side by rotating your head so your face is out of the water.
11. Catch-up stroke

This improves stroke length and encourages you to stay long and streamlined.
- Start swimming front crawl with your left arm extended ahead of you.
- Perform one stroke with your right arm and allow it to touch your left hand, or ‘catch up with it’, before it moves forward to enter the water.
- Only begin stroking with your left arm once your right arm has touched it, or ‘caught up’ with it.
- Then do the same but with your right arm extended and waiting to be ‘caught’ by your left before beginning its next stroke.
12. Catch-up with float
This increases the length of your stroke and encourages a smooth hand entry by placing it onto the board rather than slapping it into the water. A good entry is a clean one that produces little splash and no bubbles.
- Hold a float straight out in front of you and grip it at its edges.
- Begin by pulling with your right arm through the water and complete a stroke by returning it to hold the edge of the float again.
- Do the same. Take a stroke with your left hand and continue in this fashion.
- Remember to rotate from your hips.
Front crawl breathing drills
Breathing should occur with a natural roll of your body. Your head is turned, not lifted, to get your mouth clear of the water, which should then bring your chin to a position where it’s in line with your shoulders. Here’s how breathing should look:
- Inhale when the stroking arm is completing its up sweep.
- Your head returns to the centre in a smooth action as soon as the breath is taken.
- Exhale gradually or hold it until just before you next inhale.
- Breathe on every second stroke if you’re only breathing to one side (unilateral breathing). If you’re breathing to alternate sides, breathe on every third stroke.
13. Single-arm swimming
This drill helps you get used to incorporating your breathing into the timing of the stroke.
- Begin swimming with your right arm extended in front of you.
- Stroke only with your left arm while your right arm remains extended.
- Practise breathing to your left, as your body rolls in time with your stroke.
- Change arms and practise breathing to your right after a set number of strokes or distance.
14. Bilateral breathing

This drill helps you learn to breathe on both sides, alternating from one to the other while you swim.
- Swim front crawl and take a breath on every third stroke.
- Breathing on the odd-numbered strokes means every breath you ‘come up’ for is on the opposite side to the last.
Read more: Bilateral breathing: how to learn to breathe on both sides when swimming front crawl
15. Breathing control
Leaving different time intervals between each breath will boost the confidence you have in controlling your breathing cycle.
- Swim a number of front-crawl lengths and increase the interval between breaths on each length.
- On the first rep, breathe on every third stroke. On the second, breathe every five strokes. On the third, breathe every seven strokes… before heading back to one again.
Read more: How do I stop feeling out of breath when swimming front crawl?
 Andrew Sheaff
Swim coach
Andrew Sheaff
Swim coach