How to fit aerobars
Got yourself some clip-on aerobars but don't know how to fit them? Here's some advice from the 220 team
If you’ve bought some clip-on aerobars to add to your road bike and help make you faster in a triathlon, you may be left with one big question: ‘How do I actually fit aerobars onto my bike?’
Well, luckily for you, we’re here to help. Below, we explain how to capitalise on the benefits of the best aero bars by fitting them to your road bike with minimal hassle.
Before reading how to fit aerobars, make sure that you’re working in an area spacious enough to move around the bike. Ideally, have the bike secured onto a work stand, turbo trainer or other solid fixing.
To complete this job that can turn your road bike into a triathlon bike, you’ll need a cleaning product, clean cloth, Allen key set and ideally a torque wrench, grease and possibly a tape measure.
1. Get prepped

Before preparing the handlebars, check they are compatible with clip-on extensions. Flat-topped integrated cockpits mostly aren’t, but separate aero road handlebars can be if they have a round, 31.8mm diameter clamping area next to the tops. Traditional round road handlebars shouldn’t pose any clamping problems.
Once satisfied that aerobars will fit to your handlebar, cut back and unroll the bar tape to reveal the bare metal or carbon. Free off the cables so you don’t clamp on top of them.
Clean the bars (isopropyl alcohol is great for jobs like this) so that no grease or dirt is trapped underneath the clamps.
2. Time for bolts
Grease the bolts of the tri-bars to ensure they go in smoothly. Offer the clamp up to the handlebar and ensure it’s in roughly the correct place.
Now put the greased bolts in, finger tight at first to avoid crossing the threads. It’s essential you do this carefully.
3. Tighten up
Once the Allen bolts are in, gently tighten them, alternating a few turns on each so that the clamp pulls up evenly, and then nip them up lightly.
4. Tweak your position

Now alter the position of the elbow pads to change the width and the reach of the bars.
The width wants to be as narrow as is comfortable. The length needs to allow the elbow to be supported.
In terms of height, pro triathletes’ positions on their triathlon bikes have risen recently as they try to bring their hands closer to their heads, reducing frontal area and drag. Bear this in mind when positioning your aerobars. Raise them to a level you can comfortably hold.
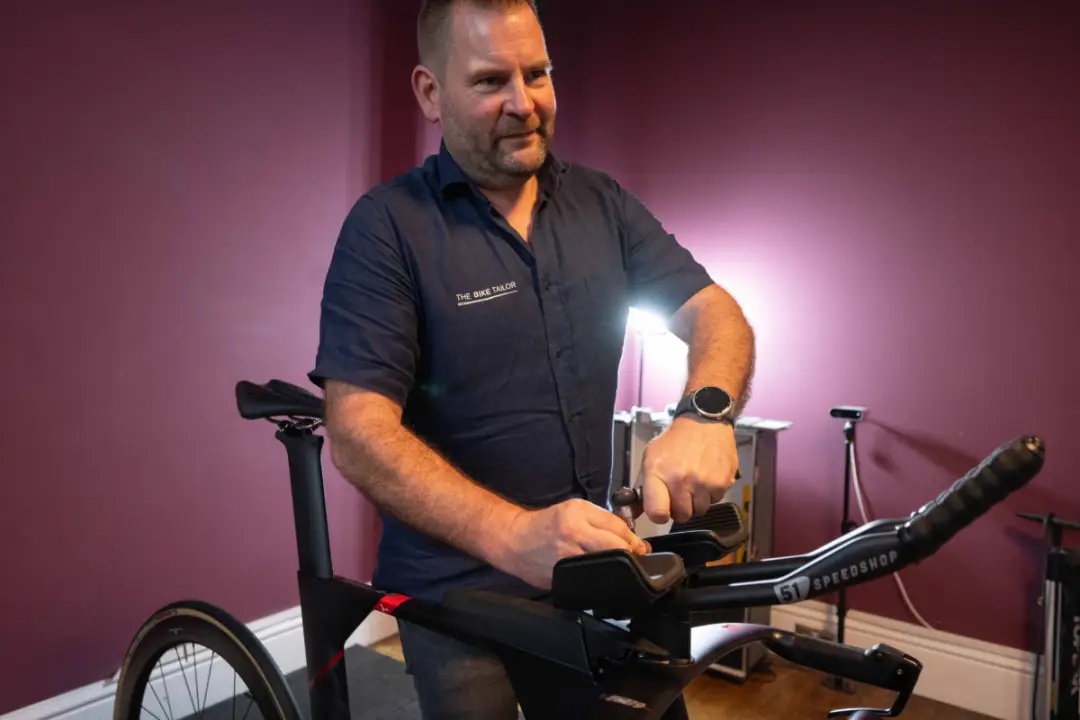
For the optimal in comfort and aerodynamics, consider having a professional triathlon bike fit.
5. Repeat with the second bar
Fit the second bar in the same way as the first, exactly the same distance away from the stem so that the bars are evenly spaced. Measure the distance from the stem to the clamps to ensure this.
6. Make final adjustments

Look at the bars from side on. Adjust them so that they’re both parallel to the ground, slightly pointing upwards, uniform with each other.
Once happy with the position, tighten the bolts holding the clamps. We’d recommend using a torque wrench to tighten to the correct torque, especially if either of the handlebar or tri bars are carbon.
Trim and secure the bar tape to finish.
Now you’re ready to ride. Start with short spins to adapt to the position. Be prepared to make small adjustments if required to optimise comfort and aerodynamics.
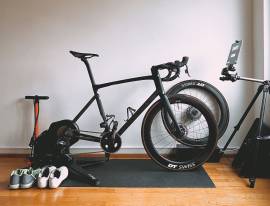
Initially a turbo trainer is the best place to practise using your aerobars. Progress to low-traffic roads and then busier carriageways when your confidence grows.
How much time will aerobars save me?
According to our own indepedent wind-tunnel testing, aerobars are one of the best ways to get more aero on your bike on a budget.
Compared to our control set-up, clip-on aerobars saved our rider 102 seconds in a 40km / 25mi time-trial at the equivalent of 45km/h / 28mph.
As tempting as glossy deep-section, carbon wheels are, tri bars provide far more speed for your money.
 Jack Evans