Experts share how to transform your front crawl in six weeks and swim more streamlined
In less than two months we can help improve your front crawl and shape you into a tri-torpedo, capable of exiting every swim in super swift time. Here’s how…
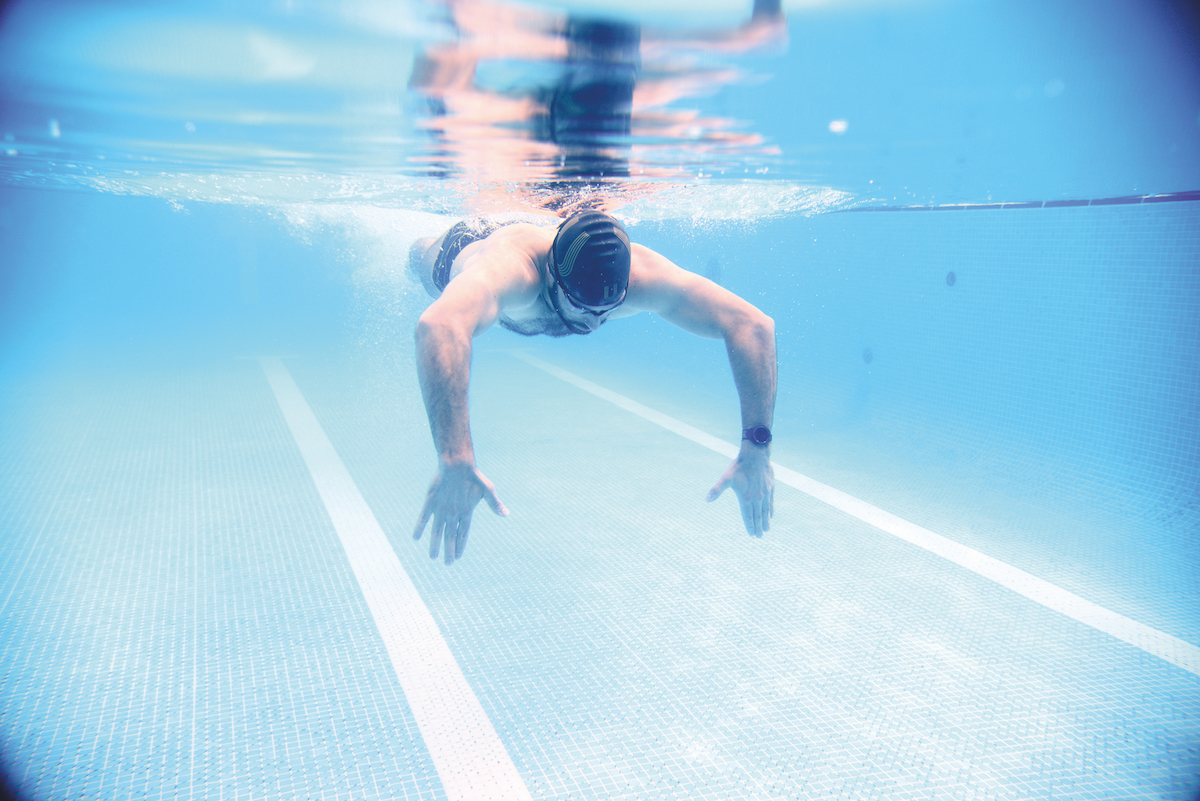
Achieving a good body position when you swim front crawl is key to success. But how do you become more aquatic missile than lead weight? The best way to improve your front crawl is consistency, here’s what you need to do…
When we talk about improving front crawl, being ‘streamlined’ comes up a lot. If you’ve ever had your coach talk to you about swimming as if you’re swimming in a toilet roll (now there’s a mental image) this might sound familiar. So what do we mean by this?
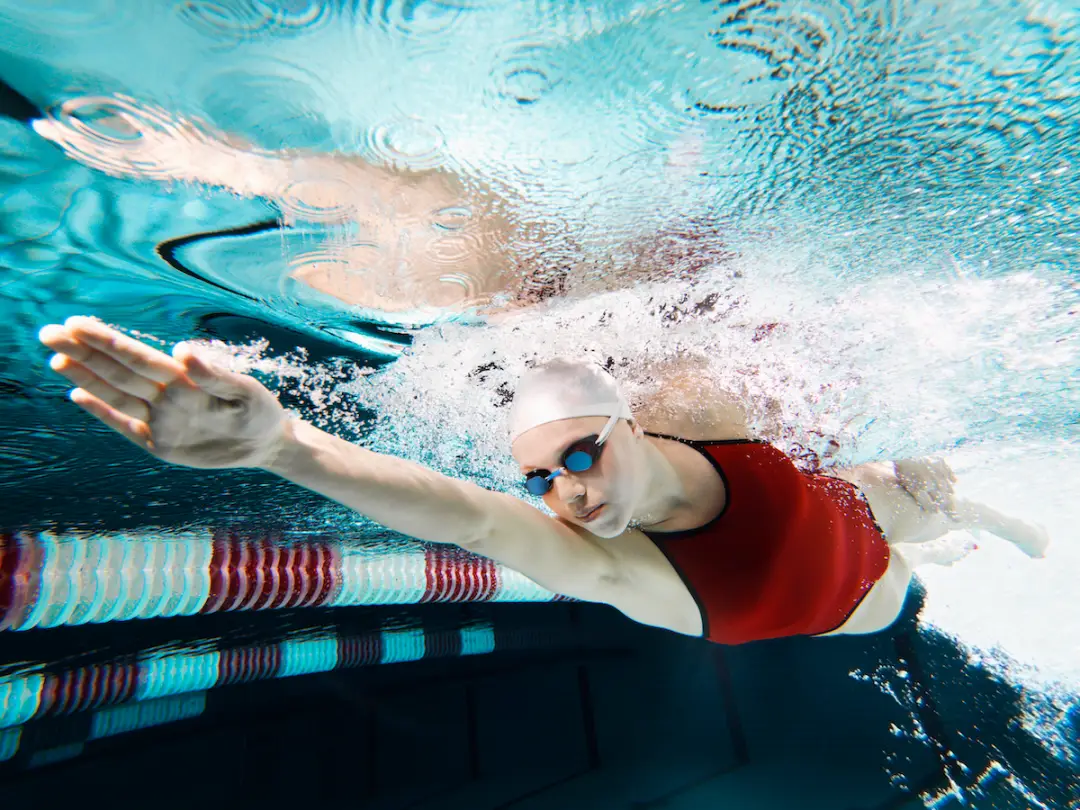
Long story short, when swimming front crawl we want to be as long as possible in the water. With your head leading, you need your body to be horizontal as much as possible, without legs dropping – a common fault in front crawl swimmers, especially men who have heavier, denser muscle on the legs – or hips dropping when you rotate. You’d also aim to keep your head as in line with your body as possible.
The more we can swim in that ‘tunnel’ the more streamlined we will be and the less drag will be created. Great in theory, but in practise add in the need to turn and breathe as well as common faults in technique, not to mention the need to look where you’re going in open water and things can quickly unravel.
To help you out, we spoke to Brian Johns – former Olympian and the brains behind much of the coaching that informs Form’s Smart Swim goggles. Plus, swim coach John Wood shares his 6-week swim training plan to improve your overall stroke.
10 ways to improve front crawl body position
Here are Brian John’s top tips for achieving a more streamlined (and faster!) front crawl position.

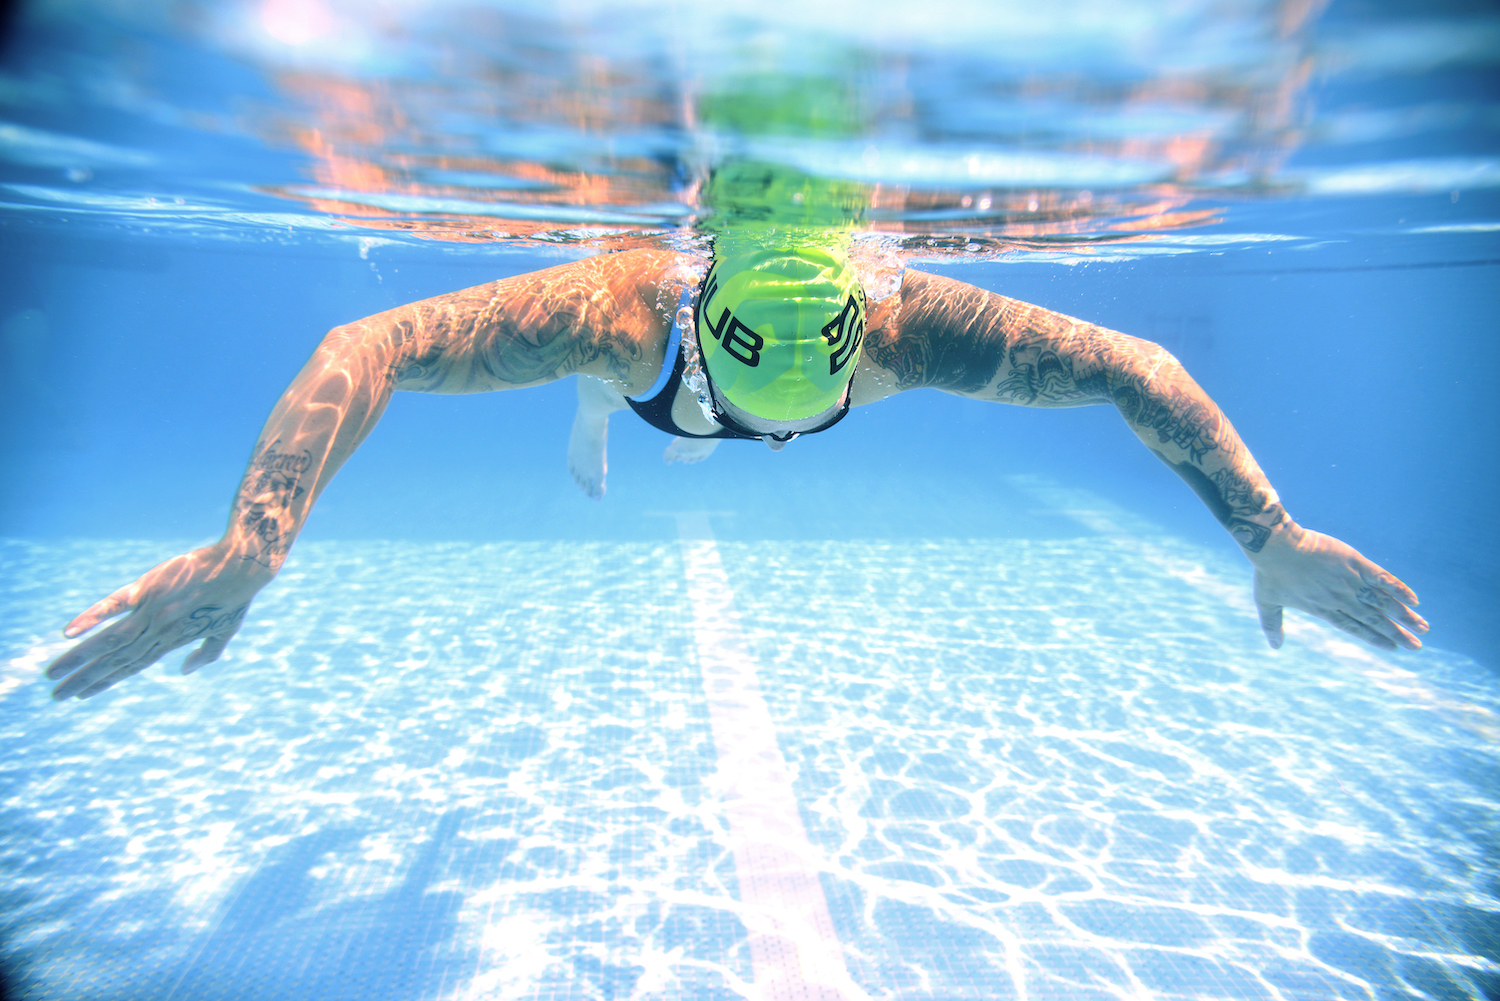
1. Keep your head still
Your body is going to follow where your head goes when you’re in the water. If your head goes side-to-side, or up-and-down, your body will do the same. This creates a lot of drag when you are swimming front crawl, which will really slow you down and make you use more energy than you need to.
2. Achieve good posture
Ideally, you want to have your body in line when you are in the water, the same way that you would stand with good posture. If your head is out of place, somewhere in your body will have to compensate, which will make your body really disjointed. Keeping your head, hips and heels in line, and at the surface of the water, will keep your body high in the water and streamlined.
3. Avoid disruption
The most common fault is moving your head too much, especially when you take your breath. Your head is the front of the boat, and you want it to be still and stable when it’s in the water. Eventually, you’ll need to take a breath, but you should turn your head as little as possible to prevent disruption in the rest of your technique.
4. Minimise movement
The breath is when you are putting your body in the least streamlined position, so if you move a lot, you are making a bad position even worse. One possible solution: don’t breathe! A good option if you are sprinting a 50m race, but not very practical for a triathlon, so you need to learn how to make the breath as smooth and connected to your stroke as possible to keep your speed and energy.
5. Keep things neutral
Rather than fixating on up or down, I like to say that you should keep your head neutral. Imagine standing with a tall, proud posture. Your head position should be similar to this, just lying on your front in the water. Typically, this will result in your eyes looking about 1-2m ahead of you at the bottom of the pool; down, but not straight down to the bottom.
6. Connect the breath
The breath should be connected to your stroke. Your body naturally rolls from one side to the other when you are swimming freestyle. Your breath should be part of this natural shoulder roll, rather than feeling like you are turning your head to breathe.
You can do this while you’re standing too: swing your shoulders side to side with your arms by your side while keeping your head still, then turn your head in time with your shoulder roll to take your ‘breath’. Your breath should fit this natural rhythm when you’re swimming.

7. Do these drills!
Here are some drills I recommend to help with head position and streamlining:
a) Kick on side (with fins on ideally). Have your right arm up, right ear to your right shoulder, and use only your legs to kick through the water. Try to have one of your goggles in the water, the other one out and move as little as possible to take your breath. This should be your breathing position when you swim. This drill lets you stay and practice in it.
b) Three stroke switch. Exactly the same drill as kick on your side, but count your kicks and let’s say we’ll count to 12 kicks. Once you do 12 kicks, then do 3 freestyle strokes and end up on your opposite side in the same kick-on-your-side position. Now you’re moving in and out of your breathing position with just a little bit of swimming.
c) Swimming with a snorkel. This will take breathing out of it altogether so that you can just focus on keeping your head still and neutral. If you don’t have a snorkel, you can swim freestyle and hold your breath for 5 or 7 strokes at a time, but I would keep the intervals short (25 metres at a time, 50m max).
8. Focus on head position
When training, remember these key tips to improve your head position:
- Keep your head still and stable
- Look 1-2m ahead of you when your face is in the water
- Breathe with one goggle in/one goggle out of the water
- Look to the side of the pool when you breathe (not to the ceiling!)
- After your breath, let your face return to the water before your hand enters.

9. Focus on body position
Also use these tips to think about improving your body position:
- Keep your head, hips and heels in one line.
- ‘Boil’, or lightly splash, the water with your heels. For some, you may need to learn to use your kick just to bring your heels to the surface. Eventually, you want to keep your heels at the surface with minimum effort.
- Kick from the hips. Keeping your legs long and your knees almost straight will keep your body long and easier to float on the surface.
- Keep your body flat on the water. When done well, this might feel like the back of your shoulder stays ‘dry’ when you swim.
- Swim ‘downhill’. If your head is at the surface, but your feet are deep, then you are swimming ‘uphill’ through the water. When everything is in line, it might not feel like you’re just swimming flat at the surface, but that you are swimming ‘over’ the water or going down a ski hill.
10. Practise sighting in the pool
Sighting is where head (and therefore body position by extension) often goes awry with triathletes. Lifting your head higher than you need to to see a buoy or landmark will lead to your legs dropping and time being lost.
Practise in the pool to make sighting by lifting just your eyes out second nature. Aim to look at the end of pool, not up too high! It can help to ask a friend to stand at the other end of the pool to feed back how high your head is lifting when you sight.
Free 6-week front crawl training plan
You’ll gain more from swimming twice every week than you will from doing three or four swims one week and then not swimming for 10 days! If you’re a newer swimmer, 30-45min in the water is plenty. If you’re more experienced, then you might aim for 45min to an hour at a time.
In this six-week guide, we introduce something ‘new’ or extra to focus on every two weeks. The idea with this is to allow you to focus on one or two elements in two swim sessions per week and hopefully build a foundation that you can add to in the following weeks.
It isn’t a full training plan, but allows you to easily incorporate elements of technique work and drills into your existing swim sessions – keeping it simple but effective!
Focus on body position, posture and kick

Week one
Session one
Include some floating on your back and ‘deadman float’ on your front to play around with balance and position in the water. Use this to build awareness.
Try a couple of lengths of streamlined kicking to brace the body and get it used to maintaining a neutral spine. Also kicking with your arms by your sides, pressing into the side of your glutes to feel for the right muscles working.
Incorporate this feeling into your full stroke, feeling some splash from your feet.
Session two
As an early part of the swim, do 8 x 1 length kicking. Do the first streamlined on your front, and the second streamlined on your back. Three and four are side kick to get used to rotation. Repeat.
These are not hard swims, keep it relaxed and easy. Then do 4 x 1 length of six kicks to one pull (6-1-6 drill). Take this feeling into your full stroke, with a gentle rock from the hips side to side.
Week two
Session one
Include the 8 x 1 length-kicking from before to remind you of body position. Then do 8 x 1 length full stroke – odd lengths non breathing (or minimal breathing – keep it safe and within your limits), even lengths with breathing, aim to feel the same rhythm.
Continue on with your swim, think good streamlining and posture.
Session two
After a few lengths’ warm-up, include 8 x 1 lengths alternating between minimal/non breathing and normal full stroke.
Then do some longer swims – two to four lengths at a time – keeping a focus on the long spine and keeping your body as straight as possible. Use the push-off each time to reset and remind yourself to keep long.
What is a deadman float?
Float face down, let everything relax. Notice your body position. Repeat, but lengthen spine, lift arms forward, engage core – feel body float upward to some degree (some people will reach the surface, not everyone).
How do you kick with arms by your sides?
Press thumbs into sides of glutes to feel if you’re using the right muscles. Face down, lift your head to breathe.
What is the side kick drill?
One arm out in front, 4-6 inches below surface. Other arm by side. Turn hips so whole body faces the side of the pool. To move to 6-1-6, take one stroke from here and switch sides – try to keep the head still as you turn.
Focus on underwater/pull/control and ‘feel for the water’
Week three
Session one
After a warm-up (including some kicking), do six lots of two lengths. Do the first half length sculling, then the next length and a half full stroke. This is where you should
feel like you’re generating force on the water.
Then do some swimming with a pull buoy, but don’t rush yourself. Take your time. Alternate 50m swims with the pull buoy and then without to get used to the feeling of the body position and using your arms to generate that power.
Session two
Warm up including some 6-1-6 drills to focus your body position and body roll. Do some swimming with the pull buoy to get moving.
Then do 8 x 50m. Number one with the pull buoy between your thighs, number two with the pull buoy at your knees, number three with the float at your ankles, then do the fourth without, and then do a normal swim. Repeat.
Take the feeling of using your core, the body position and controlling the water in to swims of 50 and 100m.
Week four
Session one
Warm up including 6 x 50m with half a length scull and a length and a half swim. Use this to switch your brain on. Do 6 x 50m as side-kick up followed by swim coming back. As a main set, do one length, then two lengths, then three lengths then four lengths. Repeat between two and four times. Aim to keep your pace/time constant throughout the set.
Session two
Warm up with some kicking and some pull. The main set is four lots of 6 x 50m. The odd sets you will do as 25m single-arm, 25m swim. The even sets are all full stroke.
Focus on changing speeds and building endurance
Week five
Session one
Warm up with some kicking and sculling. Then 4 x 25m of double-arm pulls. Get used to holding the water with your forearms and pressing the water back past your thighs.
Then do 6 x 25m, with the same technique, but the first with barely any force, second with 5-6/10 force, and third pushing hard, 9 or 10/10 effort. Repeat to get to six. Then do the same 6 x 25m full stroke – descend (get quicker) 1-3.
Use the same idea as with the double- arm pulls. Steady, easy swim for the rest of the session.
Session two
Complete a steady warm-up, mix it up and switch your brain on! Then for the main set swim 200m, then 100m, then 50m, then 25m. Start slow, calm and relaxed.
As the distance gets shorter, push a little harder, a little stronger. Get used to swimming faster without rushing, or flailing. Do 25m easy recovery, then repeat twice more for 1,200m total swimming.
Week six
Session one
Warm up with kicking and some pull. Then for the main set swim 50m then 100m, then 200m, then 400m. Start easy and controlled, thinking good form.
As the distance gets longer, aim to maintain the rhythm and speed. This is why starting slow is important. Repeat after some recovery.
Session two
Warm up including kicking and some sculling. Then do 4 x 50m descending 1-4 (get quicker). Your main set is a CSS (‘critical swim speed’) test – 400m free as fast as possible.
Take 5mins recovery, maybe do a couple of lengths very easy to stretch out, then do 200m free as fast as possible. Record your times and repeat this maybe once a month to see how you improve as the season goes on!
Meet the experts:
Brian Johns is Head of Coaching Science at Form. He’s a NCCP Level 3 National Coach and three-time Olympian competing for Team Canada. Johns swam in the 2000 Sydney Olympics, in Athens in 2004, and swam at his last Olympic Games in Beijing in 2008. Part of the technology in Form’s Smart Swim 2 goggles is a ‘Head Coach’ function which analyses your head position and offers tips. formswim.com
 John Wood
Swim coach
John Wood
Swim coach With contributions from